Simple Nail Art Designs That Will Elevate Your Style Game
Hey there, nail art enthusiasts! Are you ready to dive into the world of simple nail art designs that can transform your hands into a canvas of creativity? Let's be real—nail art doesn’t have to be complicated or time-consuming to look absolutely stunning. In this article, we’ll explore some of the easiest and most stylish nail art ideas you can try at home, even if you’re a complete beginner. So grab your favorite nail polish shades, and let’s get started!
Simple nail art designs are all about keeping things fun, effortless, and personalized. Whether you're looking for a quick weekend project or just want to add a little flair to your everyday look, these designs are perfect for anyone who wants to express themselves without spending hours on intricate patterns. Trust me, once you see how easy it is, you'll be hooked!
Before we jump into the juicy details, let’s talk about why simple nail art designs are so popular right now. They’re not only budget-friendly but also super versatile, meaning you can adapt them to match any occasion or outfit. Plus, they’re great for beginners who might feel intimidated by more complex techniques. So, whether you're a pro or a newbie, there’s something here for everyone. Now, let’s dive in and discover some amazing ideas!
Read also:Lindsay Capuano Onlyfans Leak
Why Simple Nail Art Designs Are Perfect for Everyone
Let’s face it, life gets busy, and sometimes we just don’t have the time (or patience) to sit through a two-hour nail art session. That’s where simple nail art designs come in—they’re quick, easy, and still pack a serious style punch. Unlike those fancy salon treatments, you can create these looks in just minutes, and the best part? You don’t need expensive tools or professional skills to pull them off.
Here are a few reasons why simple nail art designs are the ultimate game-changer:
- Time-Saving: Who has time for long, drawn-out manicures? These designs are quick to execute, making them perfect for busy schedules.
- Cost-Effective: With just a few basic tools and nail polish shades, you can achieve stunning results without breaking the bank.
- Versatile: From minimalist patterns to bold pops of color, simple nail art designs can fit any style or occasion.
- Customizable: You can tweak these designs to match your personal taste, mood, or even the season.
Simple nail art isn’t just about convenience—it’s about self-expression. Whether you want to keep things classic or go all out with bright colors and playful patterns, the possibilities are endless. So why wait? Let’s explore some of the best designs out there!
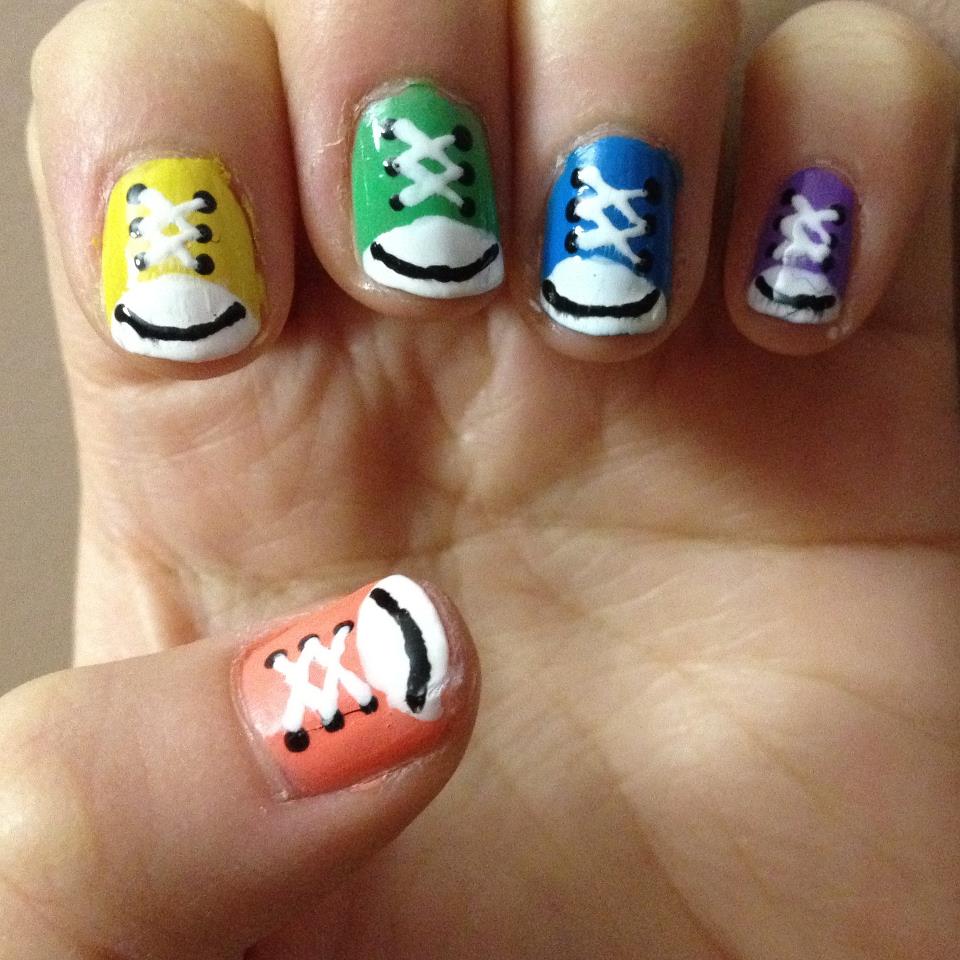
Top 10 Simple Nail Art Designs You Can Try Today
Ready to level up your nail game? Here’s a list of ten simple nail art designs that are both stunning and easy to recreate. Each design is perfect for different occasions, so you can mix and match depending on your mood or outfit. Let’s get into it!
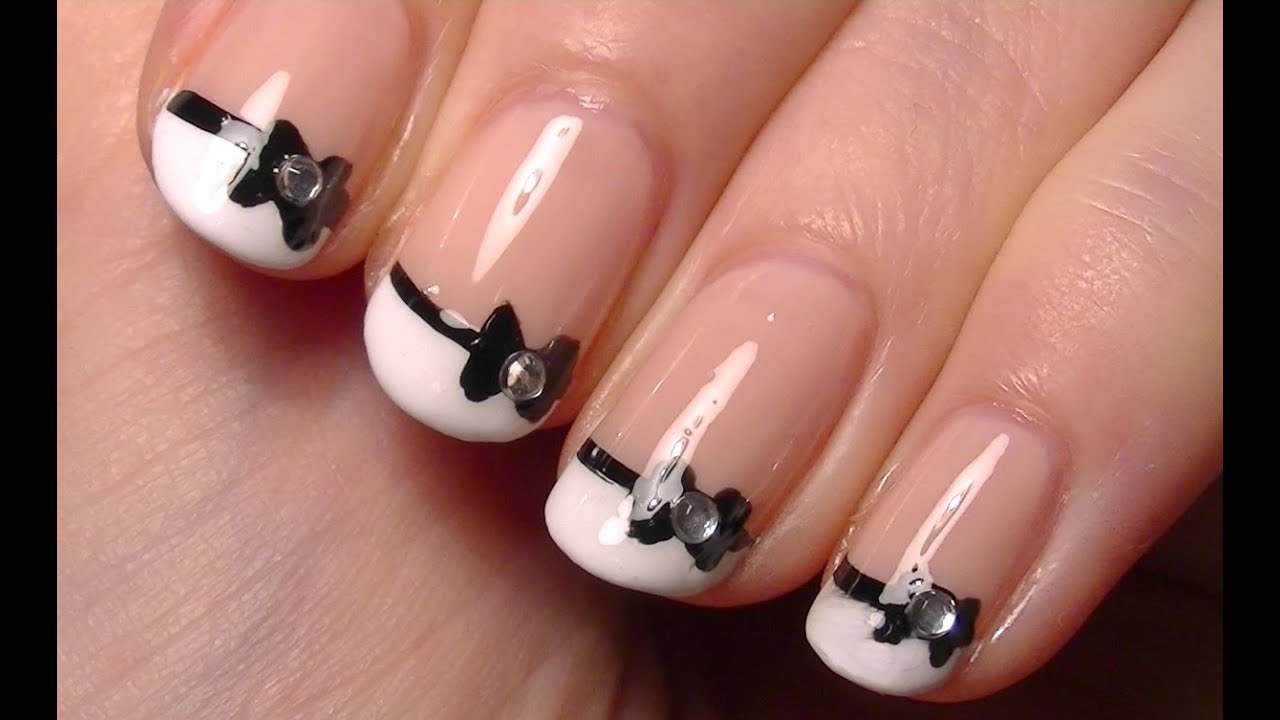
1. French Manicure with a Twist
The classic French manicure gets a modern update with this simple yet chic design. Instead of the traditional white tips, try using a soft pastel shade or even a metallic finish for a more contemporary look. All you need is a steady hand and a fine brush to create those perfect arches. Bonus points if you add a subtle glitter accent to one nail!
2. Polka Dot Perfection
Polka dots are timeless, and they’re super easy to create on your nails. All you need is a dotting tool (or the end of a bobby pin if you don’t have one) and your favorite nail polish shades. Experiment with different sizes and colors to make this design your own. Pro tip: try mixing matte and glossy polishes for added dimension.
Read also:Kayla Lauren Leak
3. Striped Wonders
Stripes are a great way to add interest to your nails without overcomplicating things. Use a striping brush or even a piece of tape to create clean, crisp lines. You can go for a monochromatic look or mix and match colors for a more vibrant effect. This design works well for both casual and formal occasions.
4. Ombre Magic
Ombre nails are all about blending two or more shades seamlessly. While this might sound tricky, it’s actually quite simple with the right technique. Use a sponge or a blending brush to gradually transition from one color to another. Choose complementary shades for a cohesive look, or go bold with contrasting colors for a statement piece.
5. Minimalist Moon Nails
Moon nails are making a comeback, and for good reason—they’re sleek, modern, and incredibly easy to do. All you need is a round object (like a coin or a stencil) to create the perfect half-moon shape at the base of your nail. Fill in the rest with your favorite polish, and voilà! Instant chic.
Tools You’ll Need for Simple Nail Art Designs
Before you start painting your nails, make sure you have the right tools. Don’t worry—you don’t need an entire kit to get started. Here’s a list of basic tools that will help you achieve professional-looking results:
- Nail polish in various shades (choose colors that complement your skin tone)
- Striping brush or fine brush for precision work
- Dotting tool or bobby pin for creating dots and other small shapes
- Sponge or blending brush for ombre effects
- Topcoat to seal and protect your design
- Clean-up brush with nail polish remover for mistakes
Having the right tools will make a huge difference in the quality of your nail art. Plus, it’ll make the process a lot more enjoyable. Trust me, once you get the hang of it, you’ll be hooked!
How to Choose the Right Colors for Your Simple Nail Art Designs
Picking the right colors is crucial for creating a cohesive and stylish nail art design. Here are a few tips to help you choose the perfect shades:
1. Consider Your Skin Tone
Your skin tone plays a big role in how certain colors look on your nails. For example, warm tones tend to look great with earthy shades like terracotta or golden brown, while cooler tones pair beautifully with blues, purples, and grays.
2. Match Your Outfit
If you’re wearing a specific outfit, try to incorporate one of the colors from that ensemble into your nail design. This will create a seamless look that ties everything together.
3. Experiment with Contrasting Colors
Don’t be afraid to mix and match contrasting colors for a bold statement. Just make sure the shades complement each other and don’t clash too much.
Remember, there are no hard and fast rules when it comes to color choices. The key is to have fun and express yourself through your nail art!
Step-by-Step Guide to Creating Simple Nail Art Designs
Now that you know what tools and colors you need, let’s walk through a step-by-step guide for creating some of the designs we mentioned earlier. We’ll start with the classic polka dot design:
Polka Dot Nail Art Tutorial
Step 1: Begin by applying a base coat to protect your nails and ensure a smooth surface for painting.
Step 2: Choose your base color and apply two coats of polish, allowing each coat to dry completely.
Step 3: Once your base color is dry, use a dotting tool or bobby pin to create small dots in your chosen accent color. Start with larger dots and gradually add smaller ones for added dimension.
Step 4: Finish with a topcoat to seal your design and give it a glossy finish.
And that’s it! You’ve just created a stunning polka dot nail design in no time. Want to try another one? Let’s move on to the ombre technique:
Ombre Nail Art Tutorial
Step 1: Apply a base coat and your lightest shade of nail polish as the base color.
Step 2: Dip a sponge into your second shade and gently dab it onto the tip of your nail, blending it with the base color.
Step 3: Repeat the process with your darkest shade, blending it seamlessly into the second shade.
Step 4: Finish with a topcoat to lock in your ombre masterpiece.
See how easy that was? With a little practice, you’ll be creating beautiful ombre nails in no time!
Common Mistakes to Avoid When Creating Simple Nail Art Designs
Even the best nail artists make mistakes sometimes, but don’t worry—most of them are easy to fix. Here are a few common mistakes to watch out for:
- Applying too much polish at once, which can lead to smudging and uneven application.
- Not letting each layer dry completely before adding the next one.
- Using the wrong tools for the job, which can make the process more difficult than it needs to be.
- Forgetting to use a topcoat, which can cause your design to chip or fade quickly.
By being mindful of these potential pitfalls, you’ll be able to create flawless nail art designs every time. Practice makes perfect, so don’t be discouraged if your first few attempts aren’t exactly Pinterest-worthy. Keep trying, and you’ll get there!
Simple Nail Art Designs for Different Occasions
One of the best things about simple nail art designs is their versatility. Whether you’re attending a formal event, going to the office, or just hanging out with friends, there’s a design that will suit the occasion. Here are a few ideas to get you started:
1. Office-Friendly Designs
For work, stick to neutral shades and minimalist patterns like French tips or small dots. These designs are professional yet still allow you to express your creativity.
2. Party-Ready Designs
When you’re heading to a party, go bold with bright colors and playful patterns like polka dots or stripes. Don’t be afraid to add a little sparkle with glitter polish or rhinestones.
3. Wedding Guest Designs
As a wedding guest, you’ll want to keep your nails elegant and understated. Try a soft ombre effect or delicate floral patterns for a romantic look.
Remember, the key is to choose a design that reflects your personality and suits the occasion. With simple nail art, you can do just that!
Tips for Maintaining Your Simple Nail Art Designs
Creating beautiful nail art is one thing, but maintaining it is another. Here are a few tips to help your designs last longer:
- Always use a high-quality base coat and topcoat to protect your polish.
- Avoid using harsh chemicals like acetone, which can damage your nails and polish.
- Keep your nails moisturized to prevent them from becoming dry and brittle.
- Touch up your polish regularly to keep it looking fresh and vibrant.
By following these tips, you’ll be able to enjoy your simple nail art designs for days—or even weeks—without worrying about chipping or fading.
Conclusion: Embrace Your Inner Artist
And there you have it—a comprehensive guide to simple nail art designs that will elevate your style game. Whether you’re a seasoned pro or a complete beginner, these designs are easy to recreate and endlessly customizable. So what are you waiting for? Grab your favorite nail polish shades and start creating!
Don’t forget to share your stunning nail art creations with us in the comments below. We’d love to see what you come up with! And if you enjoyed this article, be sure to check out our other beauty tips and tutorials for more inspiration. Happy painting, and remember—your nails are your canvas, so let your creativity shine!
Table of Contents
- Simple Nail Art Designs That Will Elevate Your Style Game
- Why Simple Nail Art Designs Are Perfect for Everyone
- Top 10 Simple Nail Art Designs You Can Try Today
- French Manicure with a Twist
- Polka Dot Perfection
- Striped Wonders
- Ombre Magic
- Minimalist Moon Nails
- Tools You’ll Need for

